

In this beginning-level design tutorial, I’ll show you how to apply a beautiful and super-easy text treatment in Photoshop: the inset text effect. It’s also often called the letterpress effect because it looks similar to text created by a Letterpress printer.
Final Result
Here’s a preview of what we’re about to create.

Creating the Photoshop document
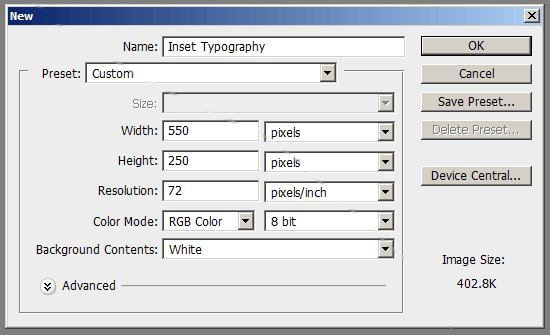
1 Let’s start with the basics: setting up the Photoshop document. Open up Photoshop and create a new document (Ctrl + N).
We’ll start with a small canvas, a 550px by 550px document, but know that later on, you’ll be able to adjust the canvas size of your project.
Styling the Background Layer
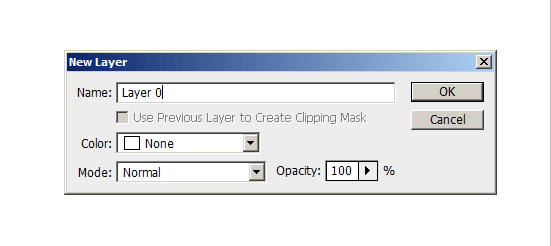
2 We’ll add a Gradient Overlay layer style onto the default Background layer. To do this, we need to make the layer editable. Double-click on the Background layer in the Layers Panel, which will result in opening the New Layer dialog box.
Enter a Name for the layer (by default – it’s Layer 0); I’ve named mine Background.
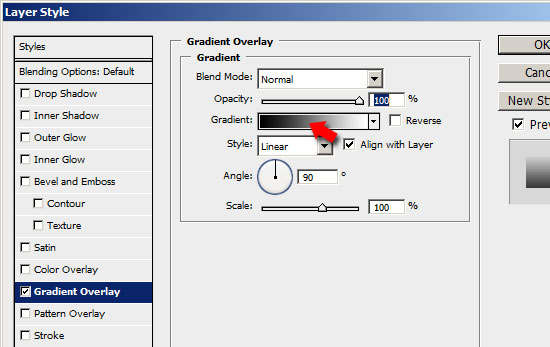
3 Double-click on the Background layer’s thumbnail in the Layers Panel to open up the Layer Styles dialog box. We want a vertical color gradient that transitions from darker blue (#003471) at the bottom, to a lighter blue (#448CCB) at the top. To begin, check the Gradient Overlay checkbox to apply the layer style.
Then click on the color gradient on the right of the Gradient option to open up the Color Gradient Editor.
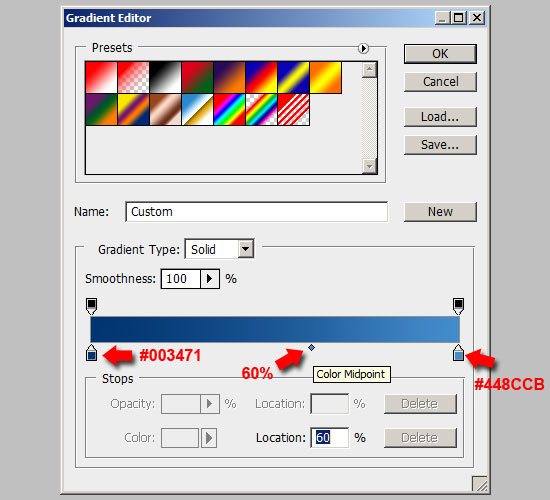
4 Double-click on the left Color Stop and enter the color value of a dark blue shade (#003471) which will be the color at the bottom of the canvas. Do the same for the right Color Stop, but this time, enter a lighter blue color (#448CCB). Let’s move the Color Midpoint to a Location of around 60% to make the darker blue color more dominant in the color gradient.
5 Lets give the background a light source from the top left corner of the canvas.
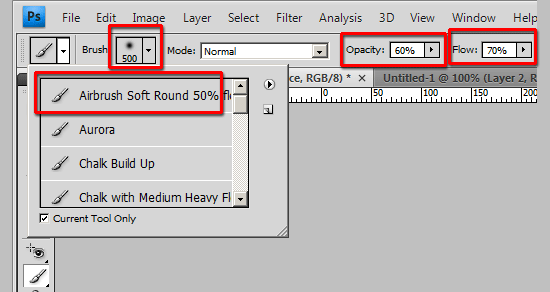
Grab the Brush Tool (B) from the Tools Panel. Set the brush tip to a rounded brush (I used Airbrush Soft, but feel free to explore your options). Set the Diameter option to 500px, Opacity option to 60%, and Flow option to 70% in the Options Bar.
6 Create a new layer (Ctrl + Shift + N) on top of the Background layer where we will apply the light source, call it Background light source.
7 Set your Foreground color to white (#FFFFFF).
With the Brush Tool (B) still active, click on the top left corner of your canvas.


Creating the Inset Type
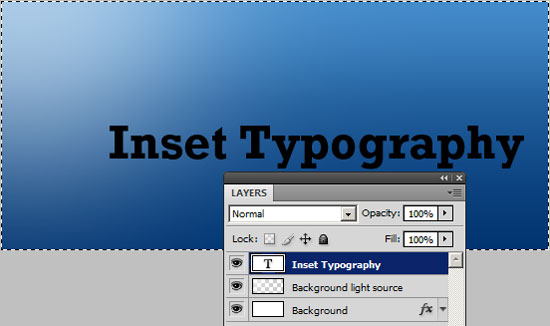
8 Use the Horizontal Type Tool (T) to write some text onto the canvas. When choosing a font family, it’s best to choose something that’s bold and thick to more readily show the inset effect. This type effect also works best on larger font sizes.
I used Rockwell Std set to Bold and with the font size set to 30px (you can set these options in the Options bar). The color doesn’t matter because we will use a Gradient Overlay layer style (later on) that will supersede whatever foreground color you used.

9 Let’s center the text in our canvas. In the Layers Panel, make sure the text layer is the active layer.
Select the entire canvas by choosing Select > All (Ctrl + A). Then choose Layer > Align Layers to Selection > Vertical Centers. This will center the text vertically.
With the canvas still selected, align the text horizontally by choosing Layer > Align Layers to Selection > Horizontal Centers to center our text in the middle of the canvas.


Adding the Inset Typography layer styles
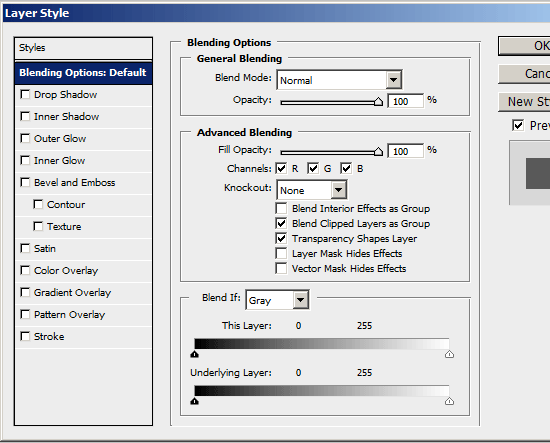
10 We’ll be adding three layer styles on the Inset Typography text layer: a Gradient Overlay, an Inner Shadow, and a Drop Shadow. This is all we’ll need in order to get the inset text effect. Start by right-clicking on the Inset Typography text layer in the Layers Panel and then choosing Blending Options – this will open up the Layer Styles options dialog (alternatively, double-clicking on the layer in the Layers Panel will perform the same action of opening the dialog box).
11 Lets work on the Gradient Overlay first.
Check the box beside Gradient Overlay to apply this style to the text. We’ll want a similar color gradient as the background: a vertical color gradient with a darker color at the bottom of the text, and a lighter color at the top.
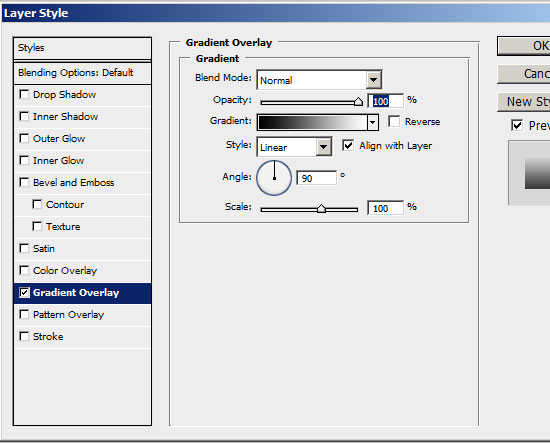
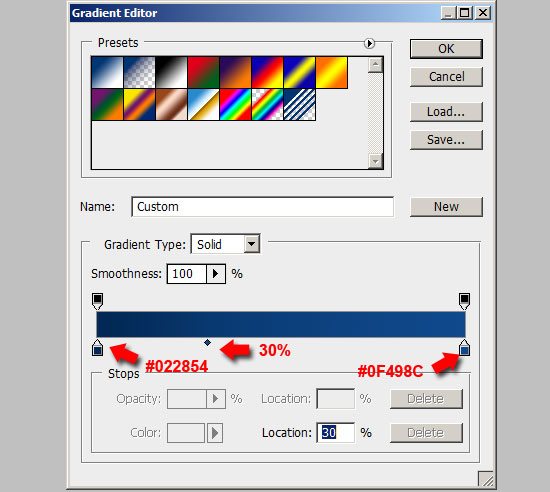
12 Double-click on the color gradient beside the Gradient option to open up the Color Gradient Editor.
For the left Color Stop, choose a dark blue color (darker than the dark blue color of the Background layer). I chose #022854. For the right Color Stop, choose a lighter blue color than the left Color Stop, but still a little darker than the dark blue color of the Background layer.
I chose #0F498C.
13 Because the Inner Shadow layer style that we’ll apply next will be at the top left of the text, lets make the lighter blue color more dominant in the color gradient to make the Inner Shadow more visible; do this by moving the Color MidpointLocation to around 30%.

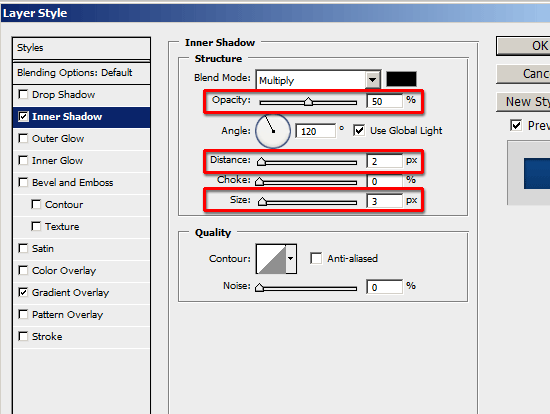
14 Let’s apply the Inner Shadow layer style next. Check the box beside Inner Shadow . Keep the angle at 120o so that the Inner Shadow’s light source comes from the top left, congruent with the light source we created earlier.
15 Changing the values of the Opacity, Distance and Size options will determine how pronounced or how subtle the inset effect will be.
I chose to set the Opacity at 50%, the Distance at 2px and the Size at 3px because I wanted it to be visible, yet not exaggerated. Experiment with these option values until you get just the right inset effect.

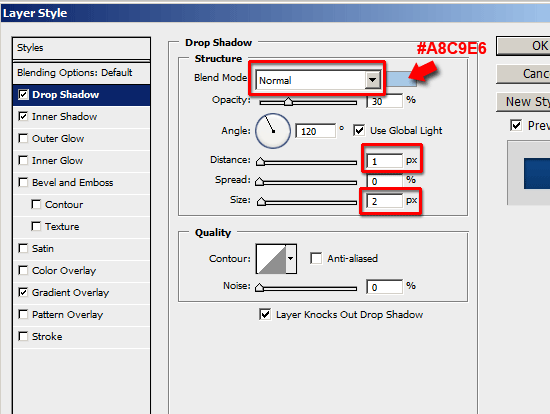
16 Finally, we’ll apply a Drop Shadow to make the text effect consistent with the light source. We want it to be very subtle, just enough to accent the text effect.
Start by checking the box beside Drop Shadow.
17 Change the Blend Mode option to Normal to make the drop shadow less feathered.
18 Change the Shadow color from the default (which is black) to a bright blue color. I used the Eyedropper Tool (I) from the Tools Panel to sample a color from the top left corner where the light source was to start, and tweaked it until I got the color I was happy with: #A8C9E6.
19 I wanted the drop shadow to be subtle and small, so I used 1px for the Distance option to locate the drop shadow just at the bottom right of the text, and 2px for the Size option. I then lowered the Opacity option using the slider so that the drop shadow isn’t too prominent, and I was satisfied with it at 30% opacity.
Also, note that it’s important to keep the angle of the drop shadow at 120o so that it’s consistently angled with the background’s light source and the Inner Shadow layer style.

We’re done!
Didn’t I tell you it would be super-easy?
Share your work!
Let’s see how yours ended up: upload your work to the Six Revisions User Group on Flickr.
Download the source file
If you’d like to check your work, you may download the PSD file for this tutorial.
- inset-typography.zip (ZIP, 0.16MB)
Related Content
-
 President of WebFX. Bill has over 25 years of experience in the Internet marketing industry specializing in SEO, UX, information architecture, marketing automation and more. William’s background in scientific computing and education from Shippensburg and MIT provided the foundation for MarketingCloudFX and other key research and development projects at WebFX.
 -

WebFX is a full-service marketing agency with 1,100+ client reviews and a 4.9-star rating on Clutch! Find out how our expert team and revenue-accelerating tech can drive results for you! Learn more
Make estimating web design costs easy
Website design costs can be tricky to nail down. Get an instant estimate for a custom web design with our free website design cost calculator!
Try Our Free Web Design Cost Calculator
Share this article


Web Design Calculator
Use our free tool to get a free, instant quote in under 60 seconds.
View Web Design CalculatorMake estimating web design costs easy
Website design costs can be tricky to nail down. Get an instant estimate for a custom web design with our free website design cost calculator!
Try Our Free Web Design Cost Calculator


