

There are plenty of jQuery tricks and techniques out there, and the vast and powerful jQuery library can meet almost anyone’s JavaScript’ing needs. Since jQuery makes JavaScript accessible to designers who want to add simple interaction and visual techniques into their design without knowing extensive programming knowledge, it’s worth a few moments to explore this excellent library. As any designer knows, adding small bits of extra visual detail and user-friendliness can add professionalism and appeal to any web design.
In addition, for designers that sell templates, WordPress themes, and other types of web designs, the use of jQuery in a design can be a great selling point. Let’s take a look at ten simple, effective, and useful tricks and techniques from several excellent jQuery developers and sites around the web that leverage the library to take your designs to another level.
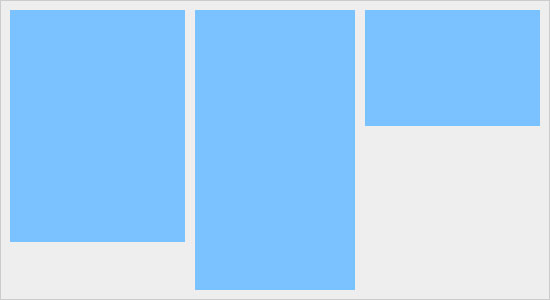
1. Equal-Height Columns
 Columns with equal heights have always been a problem for designers using
 divs, although now, there are quite a few solutions. Among the solutions available to you is using jQuery. This technique only requires a very small JavaScript function to handle everything, then some basic integration with the main layout to make the magic happen.
The function and snippets for this approach is from CSSNewbie. If anyone would like more insight to how the function works, it’s all there. To solve this problem with jQuery, just add this function to your pages you wish to have equal heights (or include it as a JavaScript file – which is better for maintainability).
function equalHeight(group) { tallest = 0; group.each(function() { thisHeight = $(this).height(); if(thisHeight > tallest) { tallest = thisHeight; } }); group.height(tallest); }To get equal-height columns, link to the script that contains the function, and put the following code block below in the <head> tags of your pages.
<script type="text/javascript"> $(document).ready(function(){ equalHeight($(".col1")); equalHeight($(".col2")); equalHeight($(".col3")); }); </script>The code will execute as soon as the DOM is ready to be utilized, ($(document).ready(function()) and then uses the equalHeight function to accurately calculate the height of all the columns.
As one can see, all a designer needs to do is use divs with classes of col1, col2, and col3 to make this example work properly.
2. Rounded corners without the HTML mess
Fortunately, CSS3 has come out with a way to create rounded corners automatically without using images, but on the other hand, many popular browsers (such as Internet Explorer) may take a while before it fully/partially supports CSS3 W3C recommendations. 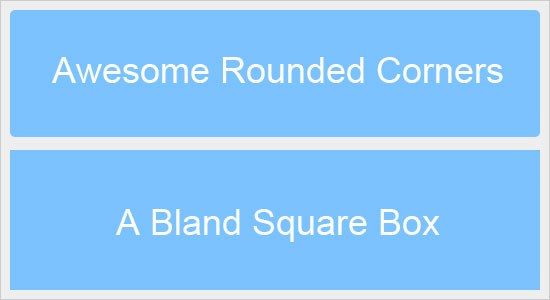 Many designers know how to create rounded corners using CSS, HTML, and a bunch of images, but these techniques cause a lot of HTML/CSS clutter. Below is an example of some cluttered HTML used to create rounded corners.
<div class="roundedbox"> <div class="hd"> <div class="c"></div> </div> <div class="bd"> <div class="c"> <div class="s"> <-- main content goes here --> </div> </div> </div> <div class="ft"> <div class="c"></div> </div> </div>
That’s quite a lot of code for one rounded box.
Most designers know that it can be difficult to sift though HTML code like this, especially when trying to alter a page that use several rounded corners. A solution to our problem is simple though – instead of writing all of the extra HTML divs each time we need a new rounded box, we can simply have jQuery do all the work for us (by way of DOM manipulation). This useful technique is from Day 13 of the 15 Days of jQuery site.
For a full tutorial or more detail on how it works, head on over there. By utilizing the script below, we can automatically add the extra divs where needed.
<script type="text/javascript"> $(document).ready(function(){ $("div.roundbox").wrap(' <div class="roundedbox">'+ ' <div class="bd">'+ ' <div class="c">'+ ' <div class="s">'+ ' </div>'+ ' </div>'+ ' </div>'+ '</div>'); }); </script>The use of div.roundbox in the snippet above is key. Now, instead of writing out all of those divs every time we need to create a new rounded box, all we have to do is use the class roundbox; jQuery will traverse the DOM to find all elements that has that class value and will automatically wrap it around div‘s.
Here’s a sample div HTML structure:
<div class="roundbox"> <-- main content goes here --> </div>
Of course, you’ll still have to use some CSS to get the rounded corner images to work, and Jack Born of 15 Days of jQuery provides you with a downloadable package that includes the auxiliary source files you’ll need.
3. Scrolling Content
Animated scrolling in jQuery can be used to create image carousels and to simplify a design by being able to display more content in a smaller space. Below is an example of a jQuery plugin called Scrollable (check out the demo on that page to see the plugin in action). 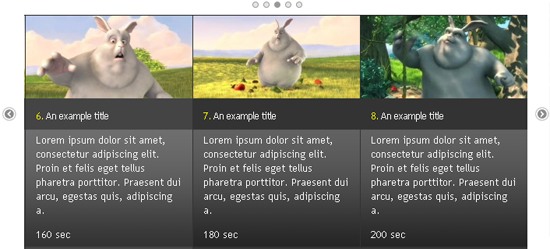 There are tons of plugins and tutorials on the web for how to create scrollable content, the Scrollable plugin being one of them.
To help you scroll up and down a web page in an animated way, check out the tutorial called Scroll window smoothly in jQuery on Freelancer ID Blog. In order to tell jQuery to scroll, we need a section in a web page to scroll up or down to (ScrollTarget).
<div class="ScrollTarget"> <p>After a scroll button is clicked, jQuery will animate the page to this point.</p> </div>
Next, we can use any HTML element to use as a trigger to call a function called scroll(), such as an image or input button to tell the browser to scroll to the above div when clicked. Example of a input button:
<input onclick="scoll();" type="button" value="Scroll" />
Example of an image:
<img onclick="scoll();" src="images/scroll.jpg" alt="Scroll" />
Here is the code for the scroll() function.
function scroll(){ $('html, body').animate({ scrollTop: $(".ScrollTarget").offset().top }, 2000); }The downside to this technique is that it uses an onclick property which is bad practice if you’re interested in obeying unobtrusive JavaScript principles.
So, you can modify the element’s markup in such a way that it has a class property value of, for example, scrollTrigger:
<input class="scrollTrigger" type="button" value="Scroll" />
And then simply replace the above scroll() function to this script below:
$('.scrollTrigger').click(function(){ $('html, body').animate({ scrollTop: $(".ScrollTarget").offset().top }, 2000); });4. CSS Style Switcher
Switching themes is a great way to vary the theme and look of a web page. Switching stylesheets may be necessary to accommodate different screen resolutions, or perhaps to allow users to pick a light background alternative to a dark design. 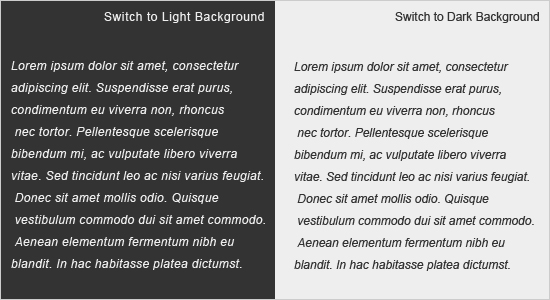 It’s quite easy to do (really).
Include the following jQuery script to the <head> of your HTML file.
<script type="text/javascript"> $(".styleswitch").click(function() { $('link[rel=stylesheet]').attr('href' , $(this).attr('rel')); }); </script>To give options to the user for switching styles, just assign the styleswitch class to an HTML element (a elements would be good candidates), using the rel attribute to reference the location of your stylesheets.
<a href="#" class="styleswitch" rel="dark.css">Dark</a> <a href="#" class=" styleswitch " rel="light.css">Light</a>
For example, if this is how you reference your default stylesheet:
<link rel="stylesheet" href="dark.css" type="text/css">
Clicking on the second link above will modify the DOM in such a way that the href attribute will take on the value of light.css.
5. Resizing text dynamically
This common trick among designers can make it easy for users to control how big or small they see the text on a web page without having to modify their web browser settings. 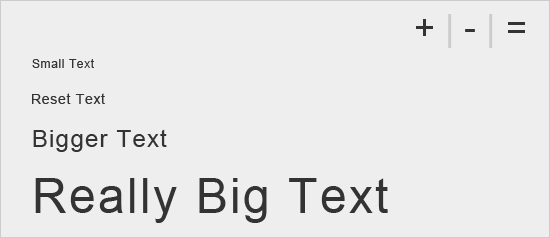 Using links to increase, decrease, or reset the text size of a webpage can easily be implemented using jQuery. The following snippet from Queness will do the trick.
<script type="text/javascript"> $(document).ready(function(){ var section = new Array('span','.section2'); section = section.join(','); // Reset Font Size var originalFontSize = $(section).css('font-size'); $(".resetFont").click(function(){ $(section).css('font-size', originalFontSize); }); // Increase Font Size $(".increaseFont").click(function(){ var currentFontSize = $(section).css('font-size'); var currentFontSizeNum = parseFloat(currentFontSize, 10); var newFontSize = currentFontSizeNum*1.2; $(section).css('font-size', newFontSize); return false; }); // Decrease Font Size $(".decreaseFont").click(function(){ var currentFontSize = $(section).css('font-size'); var currentFontSizeNum = parseFloat(currentFontSize, 10); var newFontSize = currentFontSizeNum*0.8; $(section).css('font-size', newFontSize); return false; }); }); </script>In the code above, you will notice an array called section.
This defines which HTML elements can be resized. From there, we can use basic HTML to create text-resizing links.
<a class="increaseFont">+</a> | <a class="decreaseFont">-</a> | <a class="resetFont">=</a> <span>Font size can be changed in this section</span> <div class="section1">This won't be affected</div> <div class="section2">This one is adjustable too!</div>
6. Animated accordions for interactive content displays
Accordions that use jQuery can take on many forms, from displaying only necessary content, to creating expandable/collapsible navigation menus. Designers can create accordion menus with some pretty cool animation effects using jQuery. 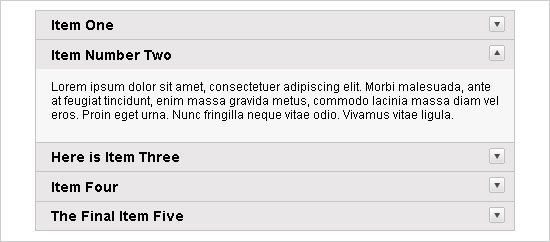 To view a demo of an accordion in action, check out the accordion over on WebDesignerWall.
Using the jQuery script below, we can use a mixture of <h3> and <p> elements to hide and show the paragraphs below the heading tags.
<script type="text/javascript"> $(document).ready(function(){ $(".accordion p").hide(); $(".accordion h3").click(function(){ $(this).next("p").slideToggle("slow") .siblings("p:visible").slideUp("slow"); $(this).toggleClass("active"); $(this).siblings("h3").removeClass("active"); }); }); </script>Note: If you’d like a faster animation movement, modify the slideToggle and slideUp methods so that it passes either the strings 'normal' or 'fast', or simply use an integer in millisecond units (such as .slideUp(500) for a half -second transition). Below is the HTML we need to use. As you can see, it’s pretty straightforward and all we need to have is the div.accordion element, and <h3>/<p> pairs inside it.
<div class="accordion"> <h3>Item One</h3> <p>Lorem ipsum dolor sit amet.</p> <h3>Item Number Two</h3> <p>Lorem ipsum dolor sit amet.</p> <h3>Here is Item Three</h3> <p>Lorem ipsum dolor sit amet.</p> </div>
Take a closer look at this and some other jQuery tricks over at WebDesignerWall.
7. Tooltips to convey contextual messages on an element of interest
Tooltips are an easy way to give users more information when they hover on a particular page element. By hovering over an element of choice, the user can view a simple tooltip that pops up displaying links, content, a larger image, and other contextual information that they might find useful. 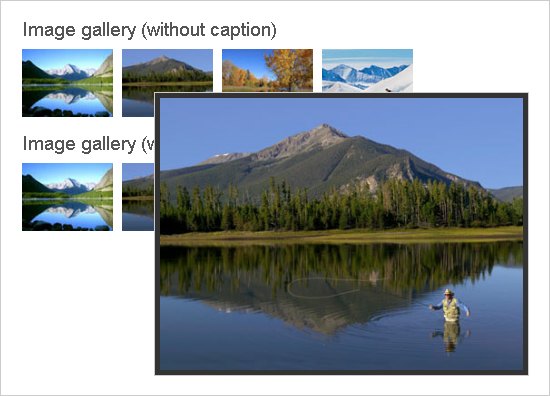 The image above is actually an example of a demo page in action (from CSSGlobe).
To download this script set, head on over to their write-up of it called Easiest Tooltip and Image Preview Using jQuery. Here is the HTML markup you need, which, as you can see follows unobtrusive JavaScript best practices by using a class (.preview)to indicate which elements will have tooltips.
<a href="image.jpg" class="preview" title="Image">Preview</a>
8. Modal windows to replace pop-up windows
Modal windows can be used to display images, content, and even iFrames. 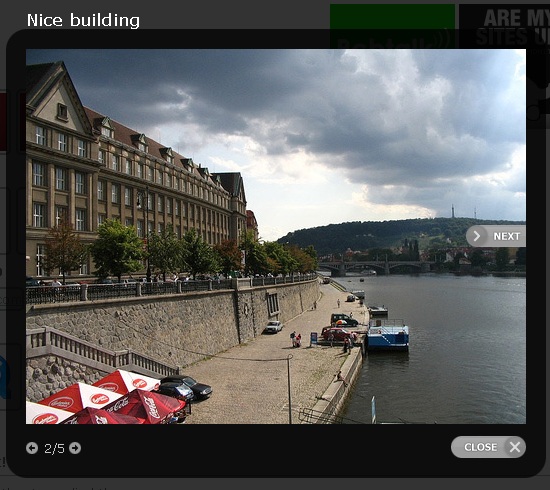 A dialog box like this takes more than just a few snippets of code, it takes an entire tutorial. Above is an image of what the NetTuts+ tutorial for creating a modal dialog box can do.
It is a great tutorial to follow if you would like to make your own, and customize it along the way.
jQuery Plugins for Modal Windows
Instead of creating your own jQuery script for modal windows, there are plenty of plugins that you can use to get the job done; below are just a few of them. FancyZoom  WordPress jQuery Lightbox Plugin
  SimpleModal
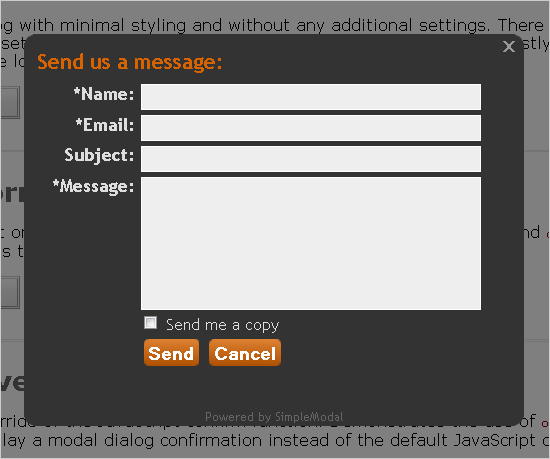
9. Tabbed interfaces for displaying content
Tabs are a great way to save space, just like an accordion. With a rise in minimalist designs, designers need new ways to decrease the space that web page content can take up. Tabs are also a great way to organize information on a web page, making the design much more user-friendly.
The image below showcases a tabbed area demonstration using the jQuery UI tabs. 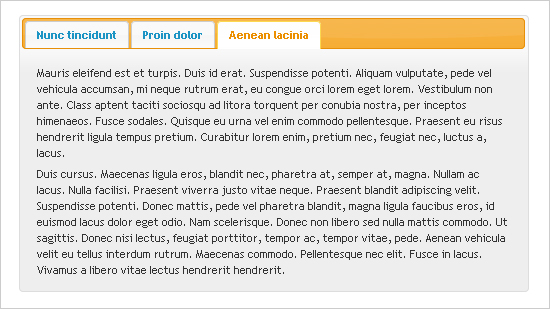
10. Using jQuery UI for easy widget implementation
The last “trick” for designers is easy: take a look at (and learn about) the jQuery User Interface (jQuery UI).  Basically, jQuery UI extends the jQuery core library to give you access to useful and common UI components (widgets) such as date pickers, accordion, tabs, sliders, and more. To make things easier for designers wanting to save time and coding requirements, they have provided a nifty tool for quickly testing and creating your own jQuery UI themes, aptly called ThemeRoller, (which is also available as a Firefox bookmarklet).
Needless to say that there are plenty of features that come from jQuery UI that let designers “Code Less, Do More.”
Wrapping Up
Many visual effects and impressive interaction can be achieved using jQuery. The above ten tips may be common and incredibly useful, but the power of jQuery does not stop there. I hope that this post has gotten you interested enough to keep exploring and learning more about this designer-friendly JavaScript library.
Please share any additional plugins, tutorials, and jQuery tricks that may help your fellow web designers in the comments.
Related Content
-
 President of WebFX. Bill has over 25 years of experience in the Internet marketing industry specializing in SEO, UX, information architecture, marketing automation and more. William’s background in scientific computing and education from Shippensburg and MIT provided the foundation for MarketingCloudFX and other key research and development projects at WebFX.
 -

WebFX is a full-service marketing agency with 1,100+ client reviews and a 4.9-star rating on Clutch! Find out how our expert team and revenue-accelerating tech can drive results for you! Learn more
Make estimating web design costs easy
Website design costs can be tricky to nail down. Get an instant estimate for a custom web design with our free website design cost calculator!
Try Our Free Web Design Cost Calculator
Share this article


Web Design Calculator
Use our free tool to get a free, instant quote in under 60 seconds.
View Web Design CalculatorMake estimating web design costs easy
Website design costs can be tricky to nail down. Get an instant estimate for a custom web design with our free website design cost calculator!
Try Our Free Web Design Cost Calculator


